Open the CMS screen
In the plugin panel, click CMS. If you haven’t connected a store yet, the connect form appears here.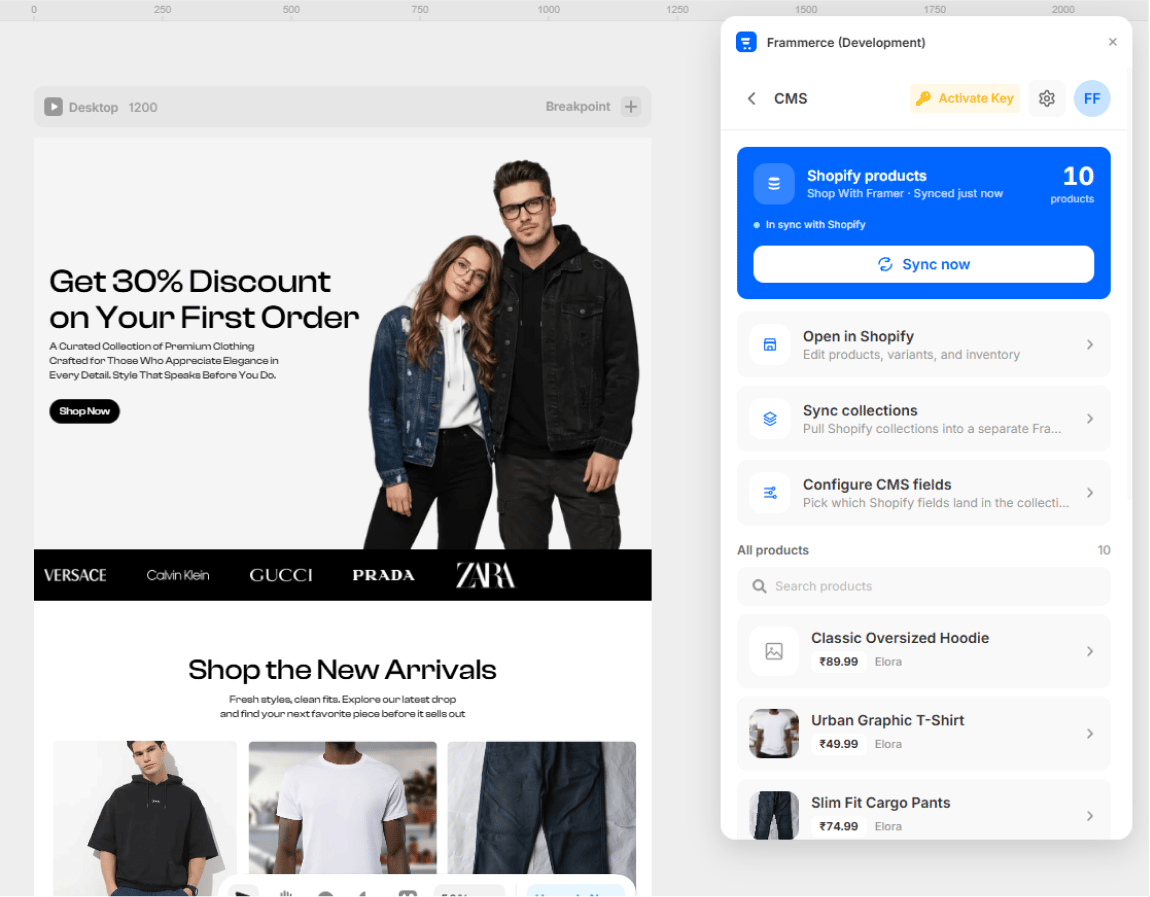
Field picker
Before the first sync, choose which Shopify fields land on each CMS row.Always synced
Always synced
- Product title
- Product handle
- Description (HTML)
- Featured image
- Variants (with prices and availability)
Optional - toggle from Sync Settings
Optional - toggle from Sync Settings
- Compare-at price (MSRP shown alongside the active price)
- Vendor
- Tags (mapped as a CMS column for filtering)
- Selling plans (subscription pricing for cart components)
Run a sync
Hit Sync products. Frammerce will:- Fetch every published product from your Storefront API
- Map the fields per your Sync Settings
- Upsert them into the Framer managed collection
- Show the count synced and any new vs updated items
The Storefront API only exposes products that are published to your storefront. Drafts and unlisted products are skipped.
Re-syncing
You can re-sync any time. Sync is idempotent:- Existing CMS items are updated in place (same Framer ID)
- New products are inserted
- Products removed from Shopify are not auto-deleted from the CMS (see Troubleshooting if you need this)
Sync settings
Toggle compare-at price, vendor, tags, and subscription support.
Using synced products on the canvas
Once products are in the CMS, you can:- Build a Collection page in Framer that lists the products
- Build a Product detail page that reads variant/price/image from the CMS row
- Drop Frammerce Product components (Gallery, Price, Variant Picker, etc.) and bind them to CMS variables