Key takeaways
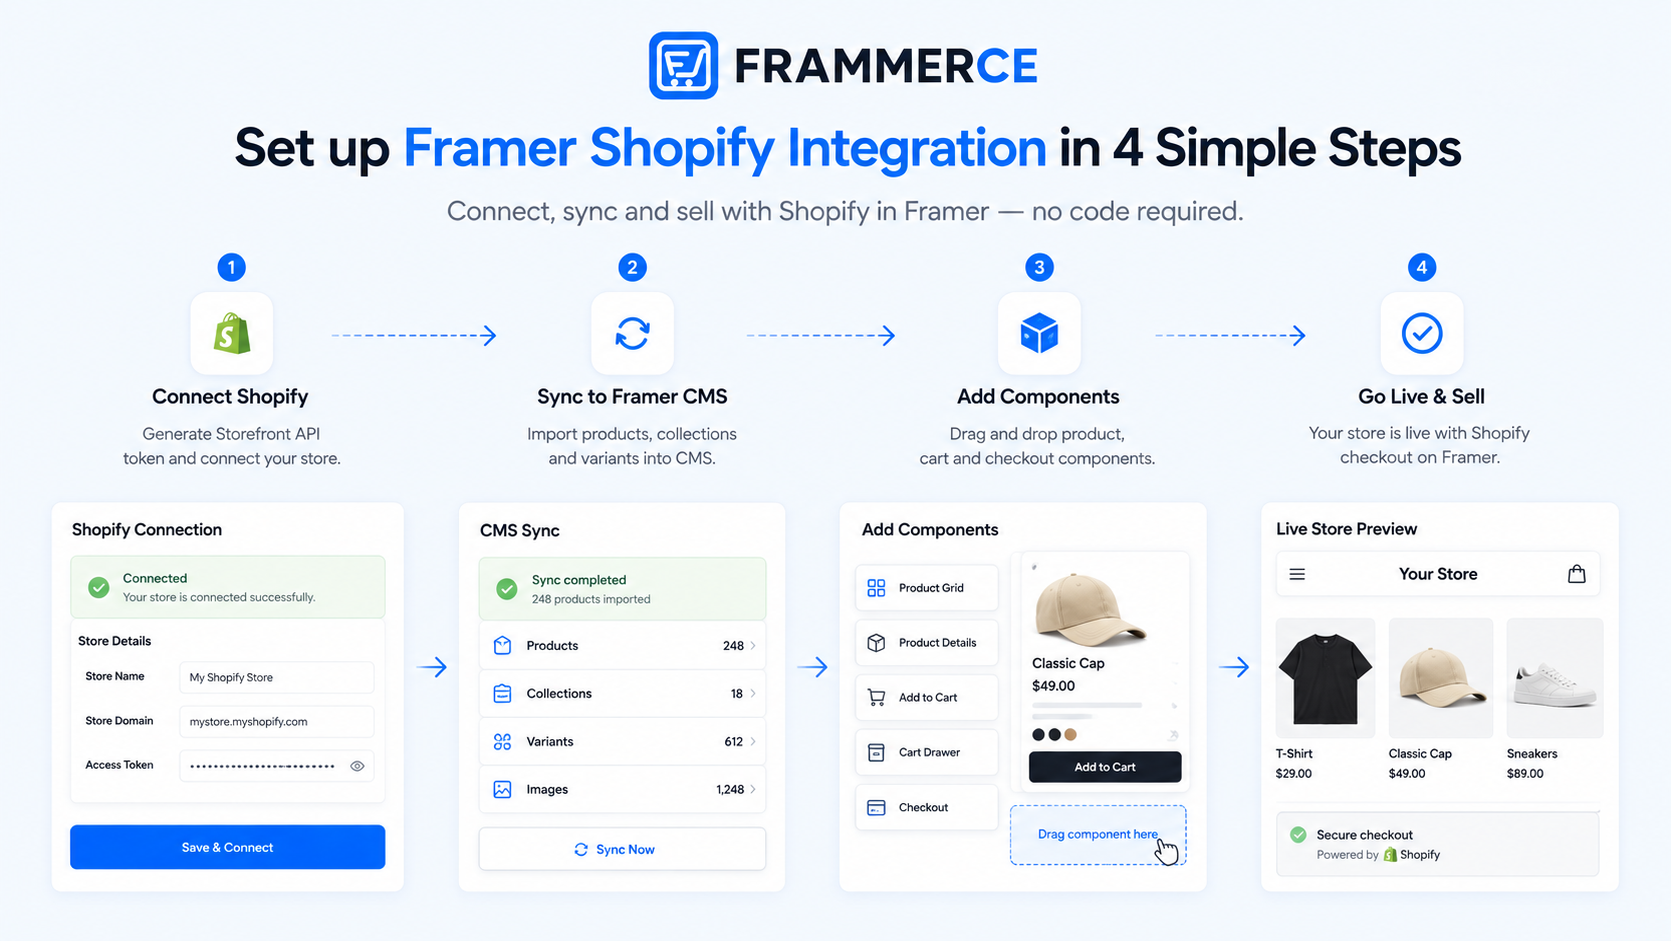
- Setting up a Framer Shopify integration comes down to four real steps: connect Shopify's Storefront API, install a Framer commerce plugin, sync your catalog into Framer's CMS, and drop in product and cart components.
- You do not need to write GraphQL calls by hand for a standard catalog. A sync plugin exists specifically to skip that step.
- Shopify's Storefront API is the pipe underneath every version of this integration, plugin-based or fully custom.
- Budget 15 to 30 minutes for the connection and sync steps on a standard catalog. Complex variants or multiple collections take longer to map cleanly.
- Test the full checkout flow with a real card before you publish. A broken sync usually shows up at checkout, not on the product page.
What do you need before you start?
Three things: a Shopify store with product data already in it, a Framer site or new project, and a commerce plugin installed from the Framer Marketplace. Nothing else. You do not need a developer, a separate hosting account, or any code for a standard catalog of physical or digital products. If you have not settled on plugin vs. custom yet, our broader Framer ecommerce architecture guide covers that decision before you get here.
How do you connect Shopify's Storefront API?
Every Framer Shopify integration, plugin-based or custom, starts the same way: Shopify has to expose your catalog through its Storefront API, a GraphQL endpoint built for external frontends. In your Shopify admin, that means installing the Headless sales channel, creating a storefront, and generating an access token scoped to what your frontend actually needs to read: products, collections, and cart data.
Shopify splits Storefront API access into two token types: a public access token, safe to expose in a browser and what most plugin-based integrations use, and a private access token, meant for server-side calls and never to be shipped in client-side code. For a Framer plugin sync, the public token is almost always the right one, since the request happens from the published page itself.
One practical limit worth knowing: a shop can have a maximum of 100 active storefronts and access tokens at once. For nearly every Framer project this is irrelevant. It only starts to matter if you are managing a large number of separate storefront connections against one Shopify store.
How do you install a Framer commerce plugin?
Open the Framer Marketplace from inside your project, search the ecommerce category, and add a plugin to your canvas. This is the step that actually saves you from writing the GraphQL calls yourself. A plugin's whole job is taking the Storefront API token you just generated and turning it into a working sync, so you never touch the query layer directly.
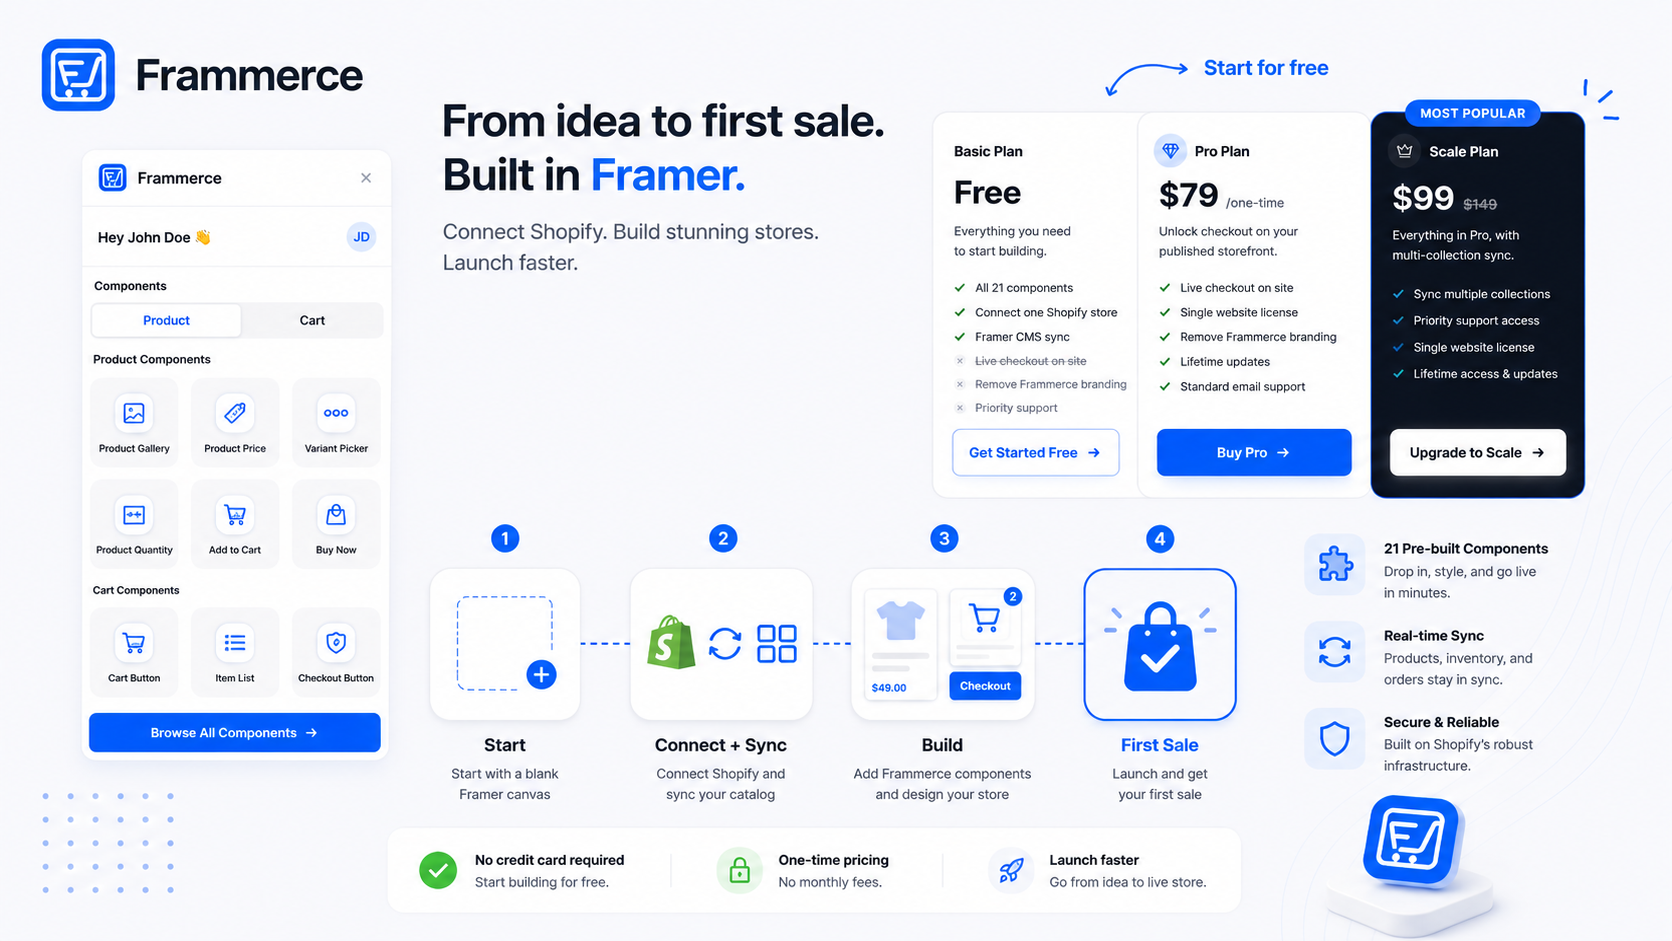
Frammerce works this way: connect your Shopify store once, and the plugin owns the sync going forward, including keeping catalog data current as it changes on the Shopify side. The Basic tier is free and includes the Shopify store connection, CMS sync, and all 21 components, so testing this step costs nothing before you commit to a paid tier (checkout on your published site unlocks on Pro). If you are still weighing a plugin against writing the Storefront API calls yourself, our plugin-vs-custom breakdown lays out when each path actually makes sense.
How does your catalog sync into Framer's CMS?
Once connected, the plugin pulls your Shopify data (products, variants, prices, images, inventory) into a Framer CMS collection, then lets you choose which fields actually sync. Most plugins show you a list of available Shopify fields and let you check off the ones you want mapped into your CMS, so you are not importing data you will never use on a product page.
This is the step most setup problems trace back to, not the Storefront API connection. Think of it less like flipping a switch and more like matching two spreadsheets column by column: every variant, option, metafield, and inventory count on the Shopify side needs a matching column on the Framer side, and the match has to hold up over time, not just on day one. Rename a field in Shopify, delete a custom property, swap a data type, or leave one required column unmapped, and that one column silently stops updating while the rest of the sheet keeps working fine. You usually will not see an error. You will see a product live on the site with the wrong price or a missing image, and no log telling you why.
The fix is almost always the same: re-check the field mapping against the current Shopify schema and re-run the sync. If you delete a product in Shopify, it drops out of the Framer CMS the next time you sync, so a stale collection after a catalog change usually just means you have not synced since the change.
Add product and cart components to your pages
With the catalog synced, this is the part that actually feels like Framer: drag in a product grid, connect it to your synced collection, style it like any other canvas element. Variant pickers, add-to-cart buttons, and a cart drawer follow the same pattern, pre-built components you drop in and restyle rather than build from scratch.
This is also where a Framer Shopify integration pays off compared to a fully custom build. Cart state has to persist as a shopper moves from a product page to a collection page to checkout, and Framer's canvas has no native mechanism for that. A plugin's cart component owns that state so you do not have to engineer it.
How do you test checkout before publishing?
Place a real order with a test or low-value card before you announce the store is live. Confirm three things work end to end: the cart total matches what is in Shopify, shipping and tax calculate correctly for at least one real address, and the order actually appears in your Shopify admin afterward.
This step matters more than it sounds like it should. Checkout friction, not integration quality, is what usually costs a store its sales: across 50 studies compiled by the Baymard Institute, the average documented cart abandonment rate sits at 70.22%, and a meaningful share of that comes from shipping costs or tax appearing late, or a checkout step that simply does not work as expected. Catching a broken tax rule or a missing shipping zone before launch is cheaper than losing the sale after. Once checkout is confirmed working, what actually makes Framer Shopify stores convert is worth a look before you drive traffic to it.
How long does a Framer Shopify integration take to set up?
For a standard catalog with normal variants, expect 15 to 30 minutes just for the connection and sync steps: a few minutes to generate the Storefront API token, a few more to install the plugin and connect the store, and the rest spent on field mapping and dropping components onto your pages. That is the technical setup, not the full storefront design and content work on top of it. One independent breakdown of Framer ecommerce setups puts a full plugin-based store launch, design included, at one to two weeks, versus four to eight weeks for a custom build, so the pattern holds either way you measure it: plugin-based paths ship faster than a custom build at every stage.
Complex catalogs take longer, not because the connection itself is harder, but because mapping more fields and collections correctly just takes more time. Budget accordingly if you are syncing multiple collections or a large set of custom metafields.
What usually breaks the sync?
Field mismatches, almost always. A Shopify field gets renamed, a metafield gets deleted, or a mapping quietly points at the wrong CMS field, and part of your catalog stops updating without an obvious error. The fix is re-checking the mapping against your current Shopify schema and re-running the sync, not troubleshooting the connection itself, which rarely breaks once it is set up correctly.
Do you need a developer for this?
No, not for a standard catalog. The entire point of a sync plugin is to skip the GraphQL work a developer would otherwise write by hand. You need a developer only if your commerce logic is genuinely non-standard: a multi-vendor marketplace, an ERP integration, or checkout logic no plugin's component set can express.
Does this work with Shopify's cheaper plans?
Storefront API access is not limited to Shopify's most expensive tier the way it once was. If you are on an older or legacy plan, confirm current API access in your Shopify admin, since Shopify's plan structure and inclusions change over time.
Can you connect more than one Shopify store?
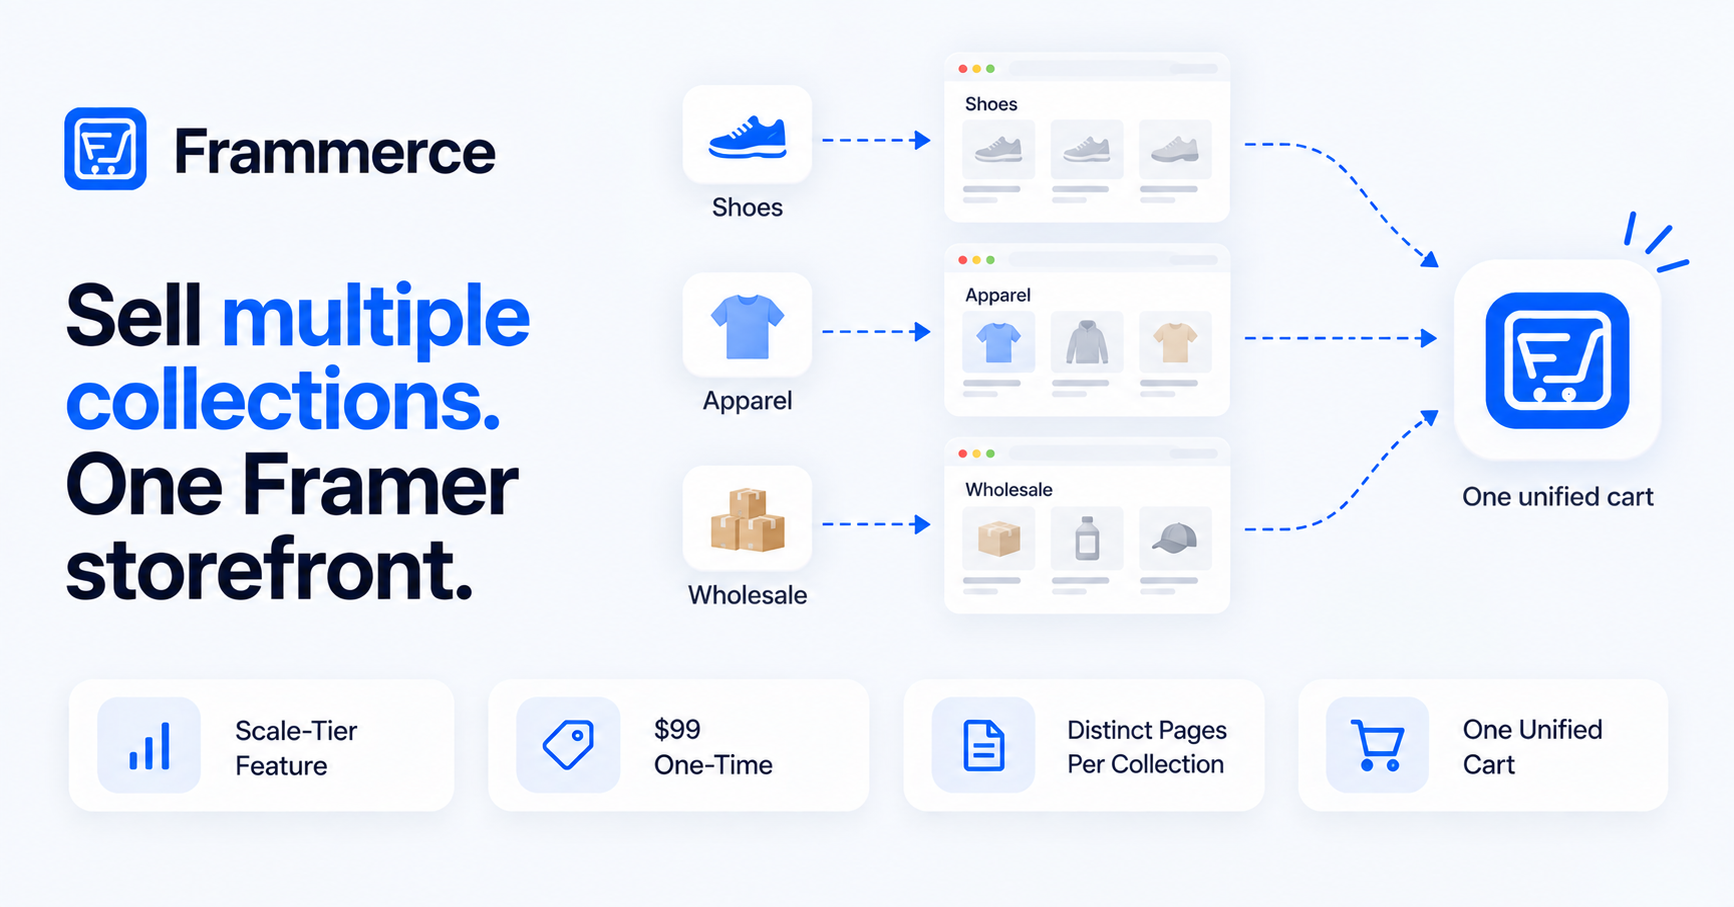
Each plugin connection is generally built around one Shopify store. If you are running multiple stores, get in touch about how that works for your specific setup, since licensing for multi-store cases is not always covered by standard pricing tiers.
Does inventory stay in sync automatically after setup?
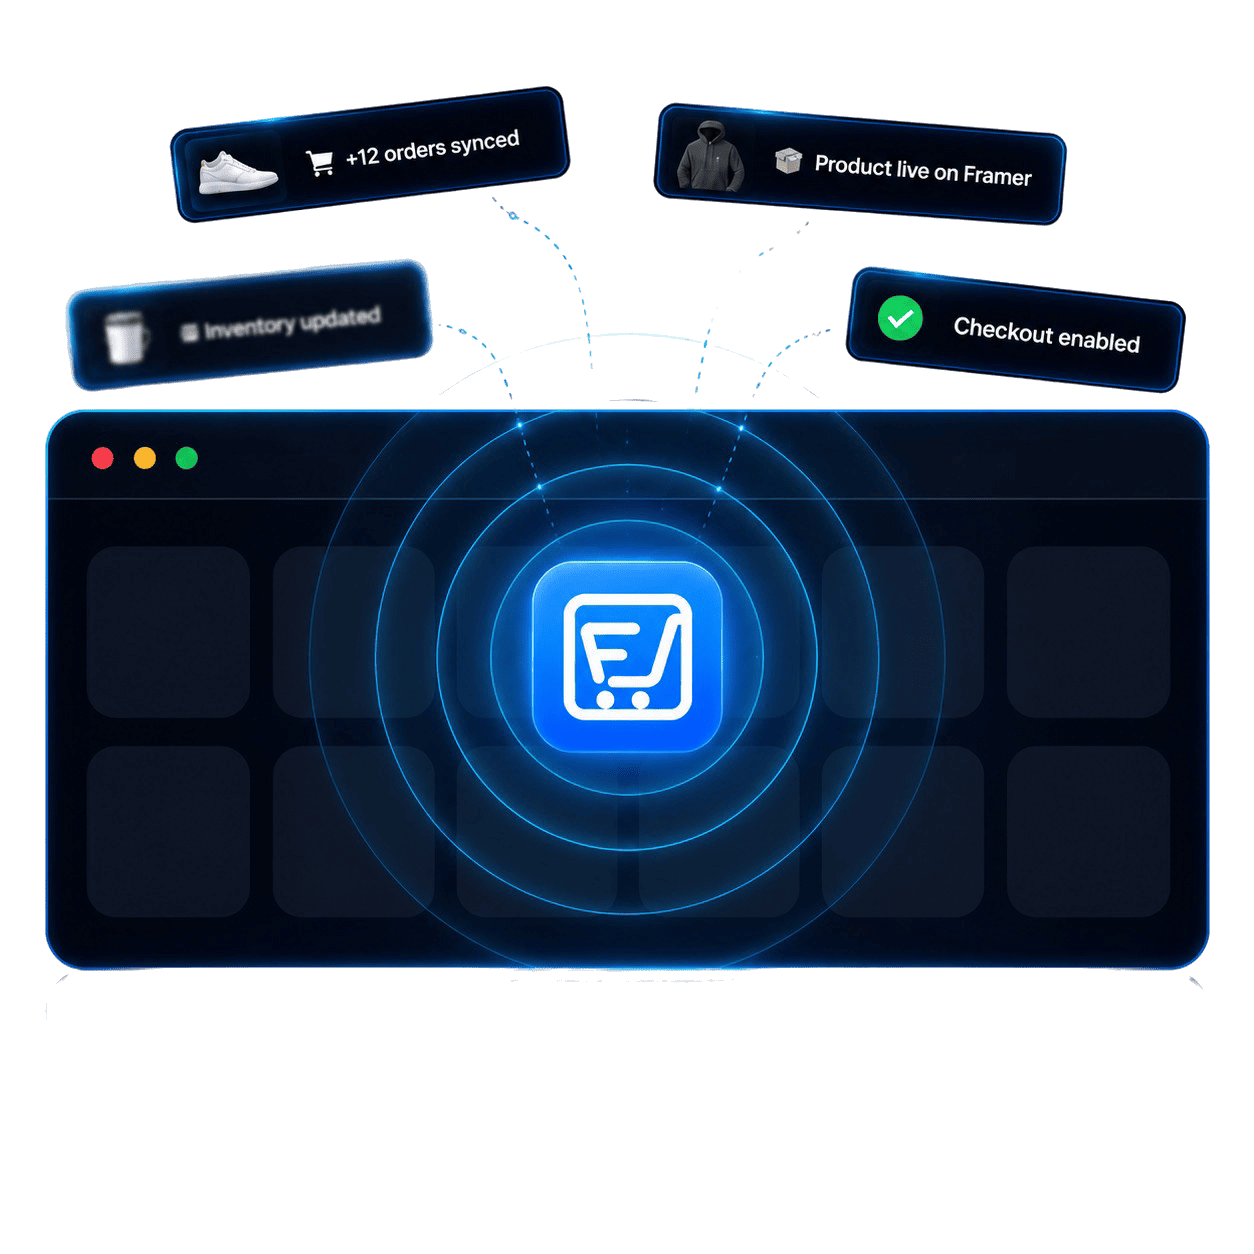
Not instantly on its own — Frammerce uses a re-sync model: re-run the sync any time your Shopify catalog changes, and drift detection shows exactly what changed since the last sync before it updates your Framer CMS. You are still not manually updating stock counts field by field in two places, but a sync does need to be re-run rather than happening the moment Shopify changes.
What happens if you disconnect the plugin later?
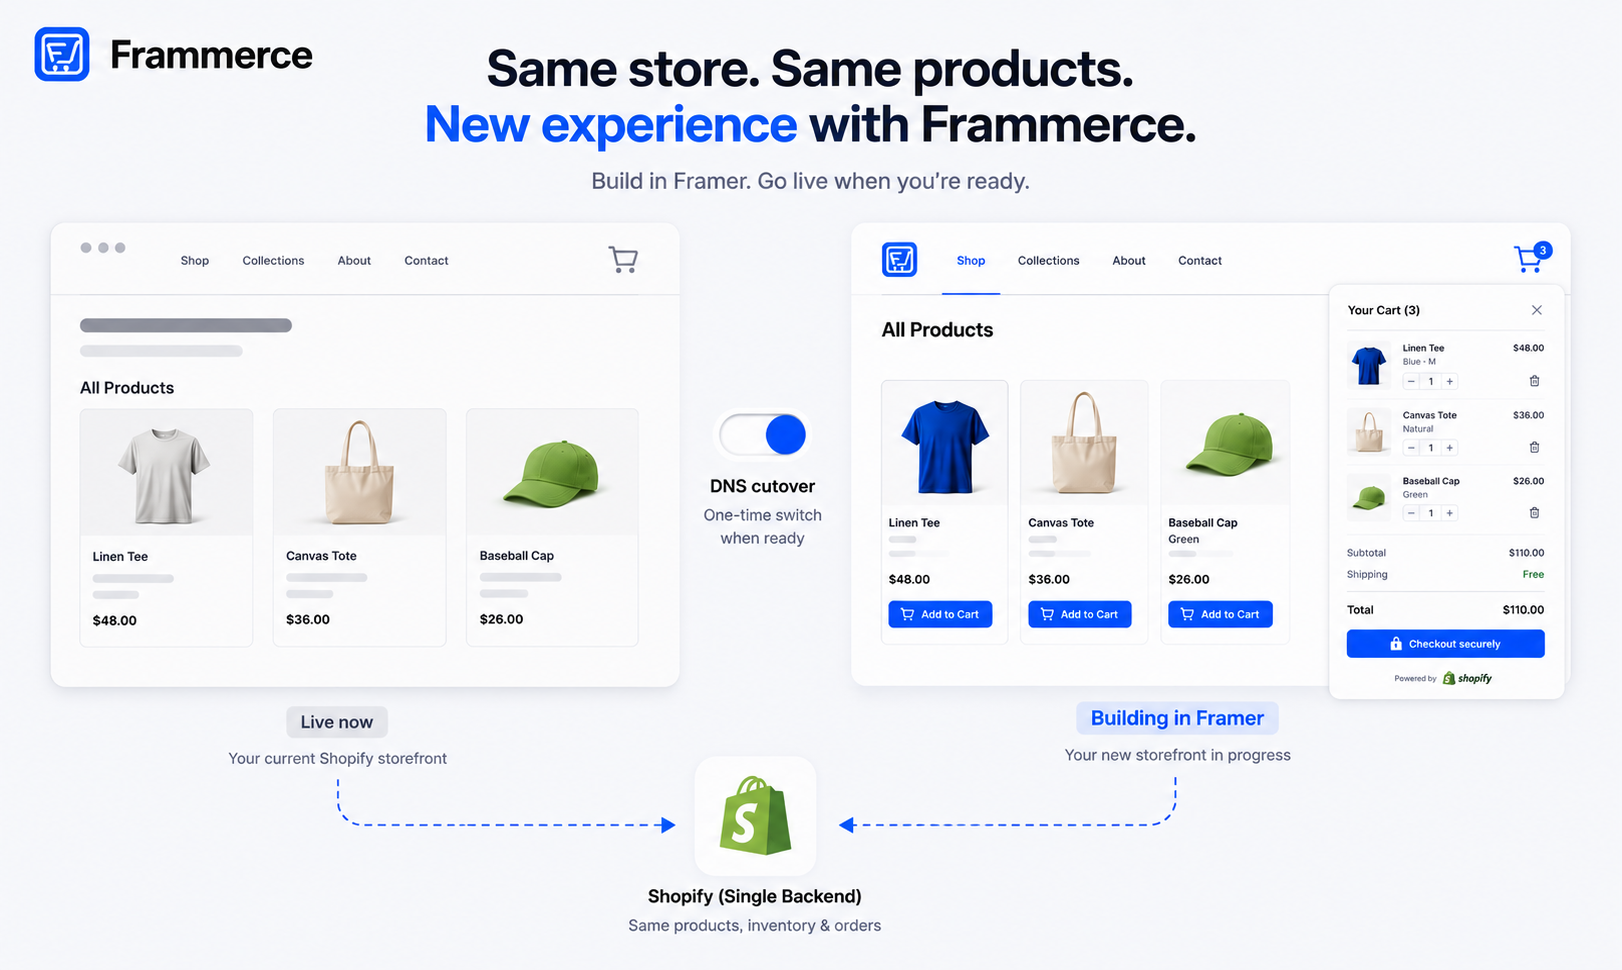
Your Shopify catalog is unaffected. Shopify stays the system of record regardless of which plugin or integration reads from it, so disconnecting only removes the sync and the components tied to it, not your product data.
Bottom line: shipping your Framer Shopify integration
The setup itself is not the hard part. Connect the Storefront API, install a plugin, sync your catalog, and drop in components: that is a 15 to 30 minute technical setup for a standard catalog. Field mapping accuracy and a real checkout test before launch are what actually determine whether the integration holds up once customers show up.
If you want to connect a Shopify store to a Framer canvas without writing Storefront API calls by hand, Frammerce is built for exactly this, with pricing that starts free for testing the full connection before you commit to anything paid.