> ## Documentation Index
> Fetch the complete documentation index at: https://frammerce.com/docs/llms.txt
> Use this file to discover all available pages before exploring further.
# Quickstart
> From an empty Framer project to a working product page in about five minutes.
This walks you through the first five minutes with Frammerce: installing the plugin, connecting your Shopify store, dropping in your first component, and previewing the result.
## 1. Install the plugin
Open your Framer project and install **Frammerce** from the Framer Marketplace.
Install Frammerce directly from the Marketplace.
Once installed, open the plugin from the **Plugins** panel inside Framer.
## 2. Connect your Shopify store
The first time you open Frammerce, you'll land on the connect form (also reachable later from the **CMS** screen).
Use the `.myshopify.com` domain. Custom primary domains don't serve the Storefront API.
Example: `my-shop.myshopify.com`
A `shpat_…`-prefixed token. If you don't have one yet, follow [Get a Storefront token](/docs/get-shopify-token).
Frammerce validates the credentials with Shopify, then unlocks the rest of the panel.
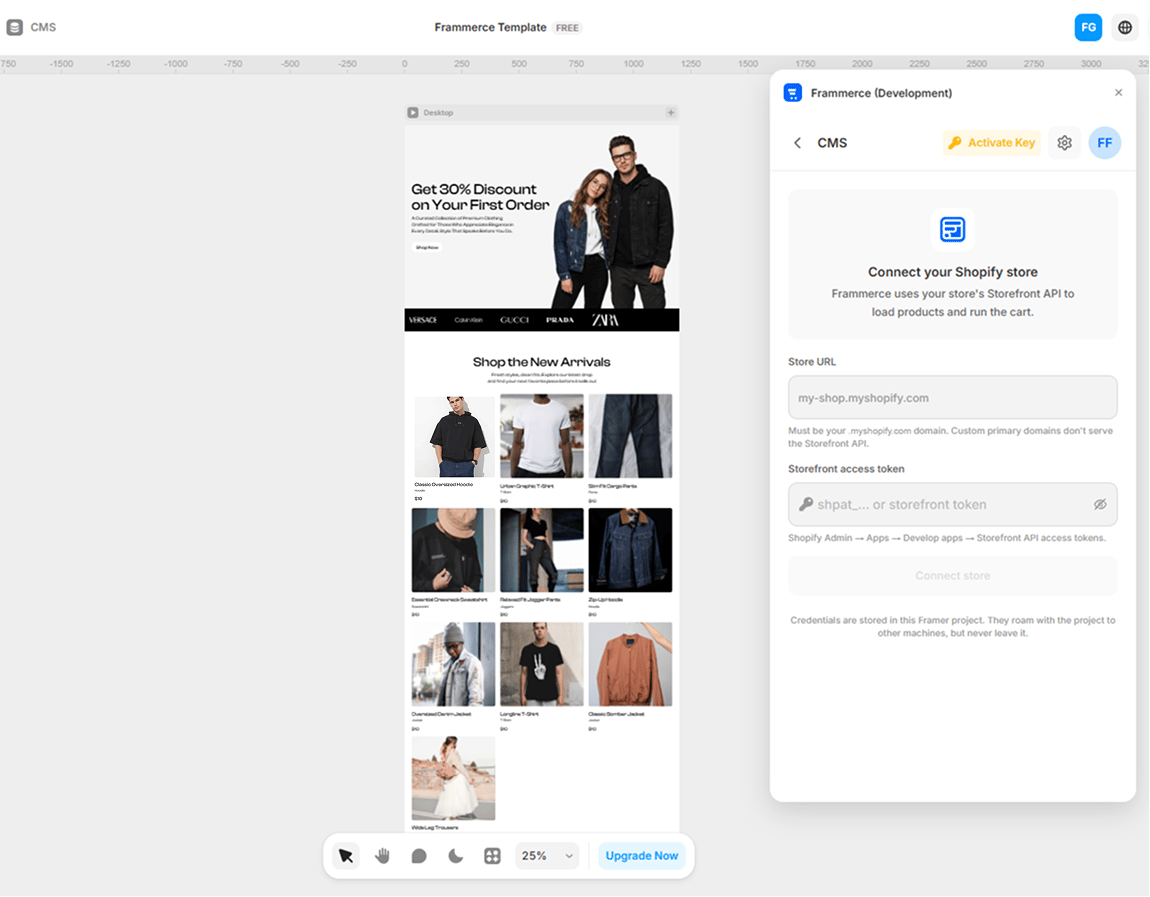
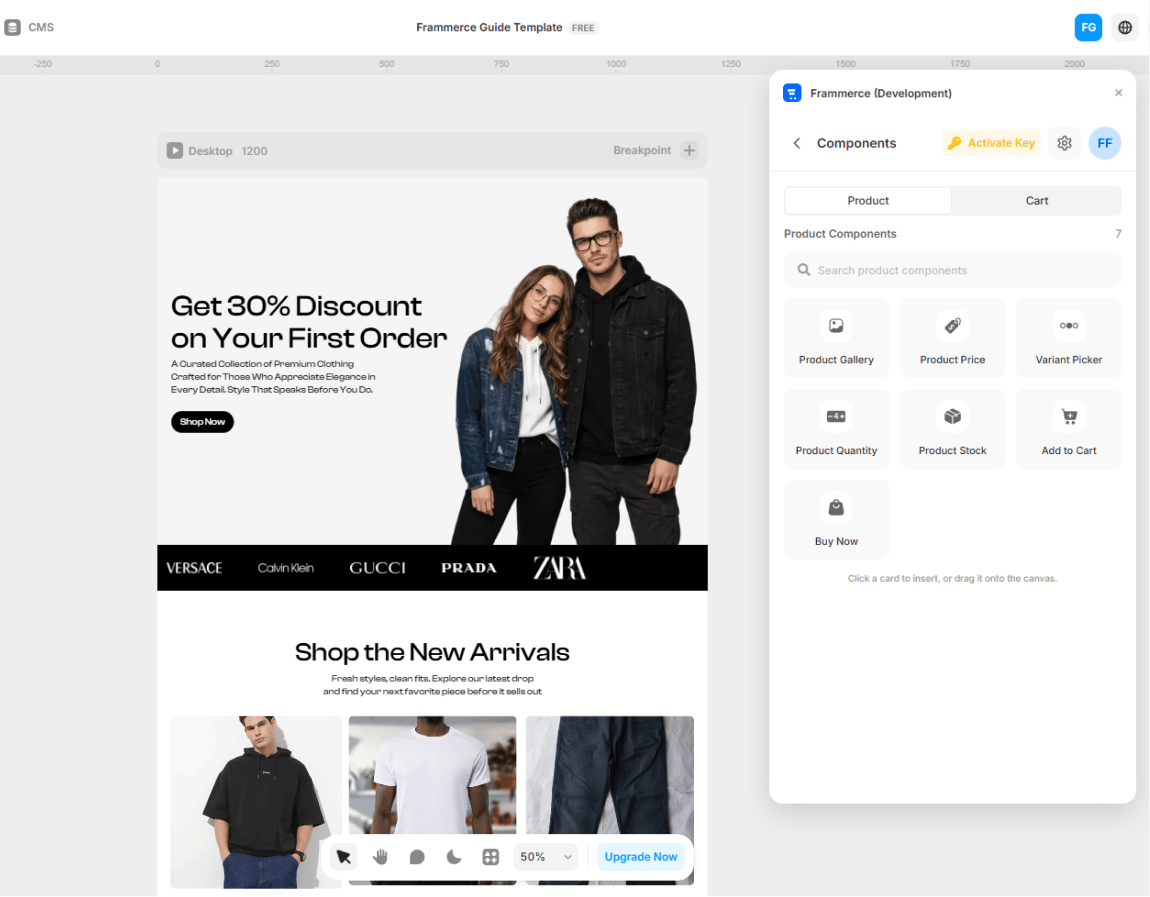 Credentials are stored in this Framer project's `pluginData` only. They travel with the project and never leave it for Frammerce servers.
## 3. Drop in your first component
Switch to the **Components** screen. You'll see two tabs: **Product** and **Cart**.
Credentials are stored in this Framer project's `pluginData` only. They travel with the project and never leave it for Frammerce servers.
## 3. Drop in your first component
Switch to the **Components** screen. You'll see two tabs: **Product** and **Cart**.
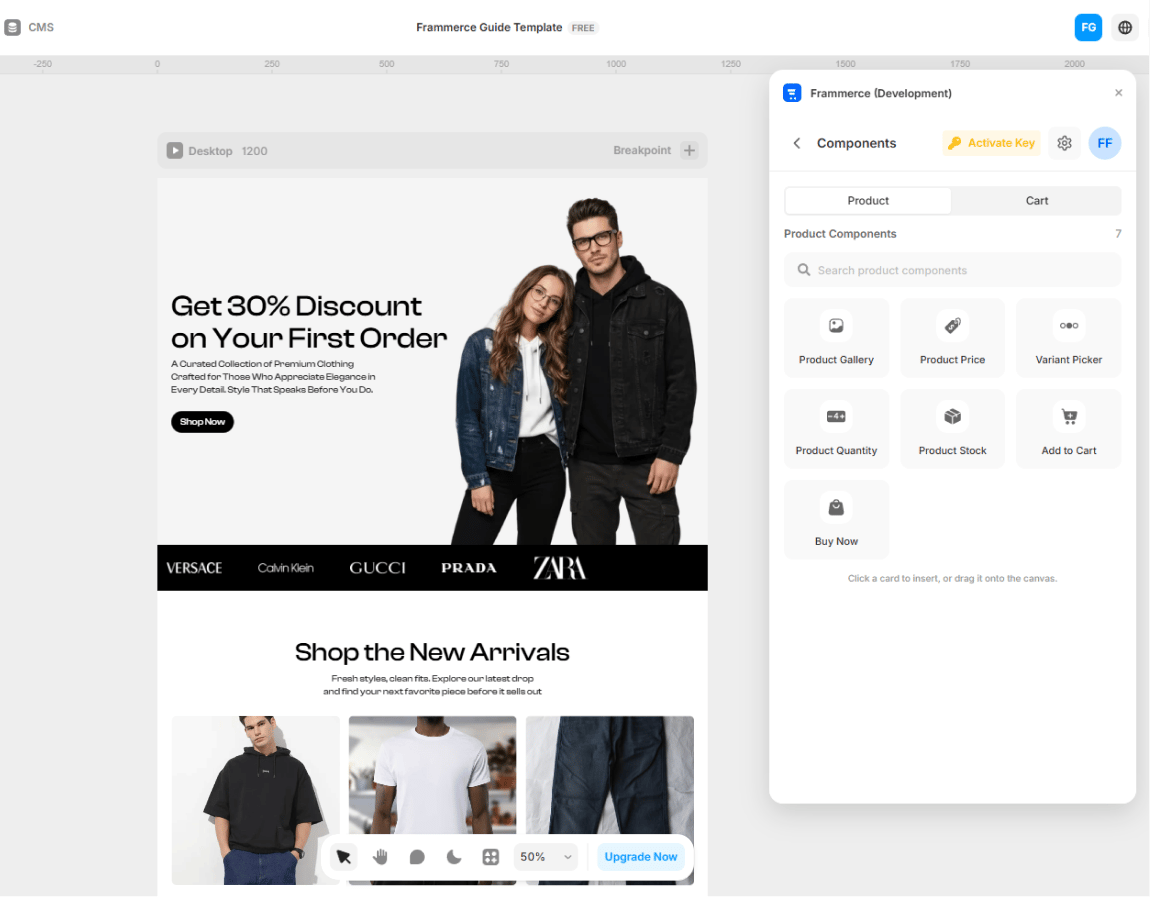 Try **Product Gallery** under the Product tab.
* Click a card to insert at the current canvas position
* Drag a card directly onto the artboard
The component lands as a regular Framer code component. Style it like any other layer - colors, layout, breakpoints.
## 4. Wire the cart
Drag a **Cart Button**, a **Cart Item List**, and a **Checkout Button** onto a Cart page. Frammerce auto-installs the cart runtime into your project's `headStart` - all cart components share the same state as soon as they appear in the same project.
The runtime is installed automatically the first time you insert a component. You don't have to copy/paste any script.
## 5. Sync your catalog
Open the **CMS** screen → **Sync products**. Frammerce pulls your Shopify products into a Framer managed collection so you can lay out product pages with the CMS you already know.
Field picker, re-syncing, and what to do when a sync fails.
## 6. Publish
Hit **Publish** in Framer. The cart runtime ships with your site automatically, and your storefront is live.
All 21 components are available on the **Basic** (free) tier. You can design, preview, and click through your full storefront for free. **Real checkout** is the paid gate - on Basic, tapping Checkout on the published site shows an upgrade prompt instead of creating an order. Upgrade to **Pro** or **Scale** when you're ready to take orders.
Try **Product Gallery** under the Product tab.
* Click a card to insert at the current canvas position
* Drag a card directly onto the artboard
The component lands as a regular Framer code component. Style it like any other layer - colors, layout, breakpoints.
## 4. Wire the cart
Drag a **Cart Button**, a **Cart Item List**, and a **Checkout Button** onto a Cart page. Frammerce auto-installs the cart runtime into your project's `headStart` - all cart components share the same state as soon as they appear in the same project.
The runtime is installed automatically the first time you insert a component. You don't have to copy/paste any script.
## 5. Sync your catalog
Open the **CMS** screen → **Sync products**. Frammerce pulls your Shopify products into a Framer managed collection so you can lay out product pages with the CMS you already know.
Field picker, re-syncing, and what to do when a sync fails.
## 6. Publish
Hit **Publish** in Framer. The cart runtime ships with your site automatically, and your storefront is live.
All 21 components are available on the **Basic** (free) tier. You can design, preview, and click through your full storefront for free. **Real checkout** is the paid gate - on Basic, tapping Checkout on the published site shows an upgrade prompt instead of creating an order. Upgrade to **Pro** or **Scale** when you're ready to take orders.