> ## Documentation Index
> Fetch the complete documentation index at: https://frammerce.com/docs/llms.txt
> Use this file to discover all available pages before exploring further.
# Introduction
> Frammerce connects a Shopify store to the Framer canvas and ships 21 commerce components plus a runtime cart - so you can build a real storefront without a Shopify theme.
 ## What Frammerce is
Frammerce is a Framer plugin that turns a Framer project into a Shopify-backed storefront. It does three things:
1. **Connects** your Shopify store to the Framer canvas via the Storefront API.
2. **Ships 21 commerce components** (product gallery, cart drawer, checkout button, etc.) as draggable Framer code components.
3. **Syncs your catalog** into a Framer managed collection so designers can use the CMS they already know.
There is no Shopify theme to maintain, no Liquid to write, and no backend you have to run. Frammerce talks to Shopify's read-only Storefront API at runtime; checkout hands off to Shopify's hosted checkout so payments stay secure.
## What you'll need
* A Framer account with the Frammerce plugin installed
* A Shopify store (any plan, including dev stores)
* A Shopify Storefront API access token (we show you how to get one)
## Where to go next
Connect a store, drag your first component, and ship.
Generate the access token Frammerce needs to read your store.
All 21 product and cart blocks the plugin ships.
Pull your Shopify catalog into a Framer managed collection.
## How the panel is organised
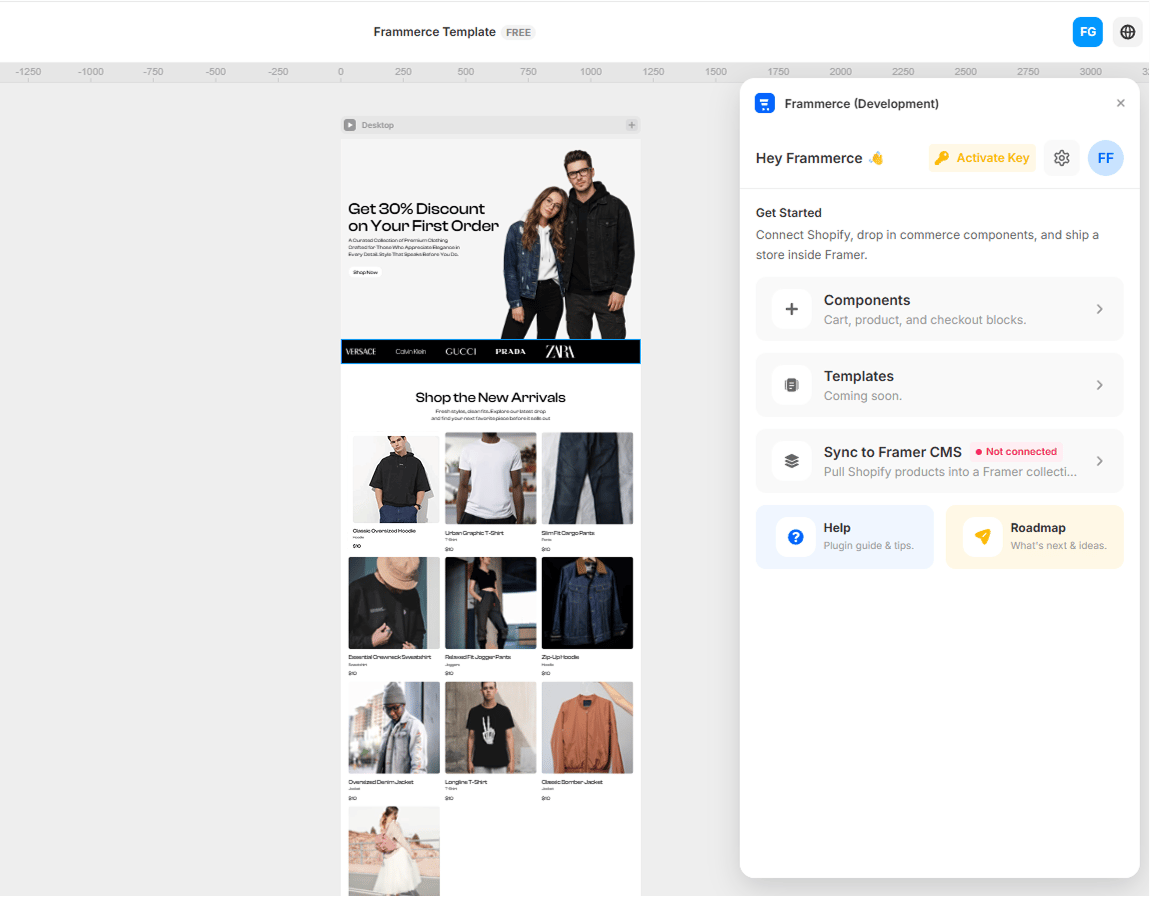
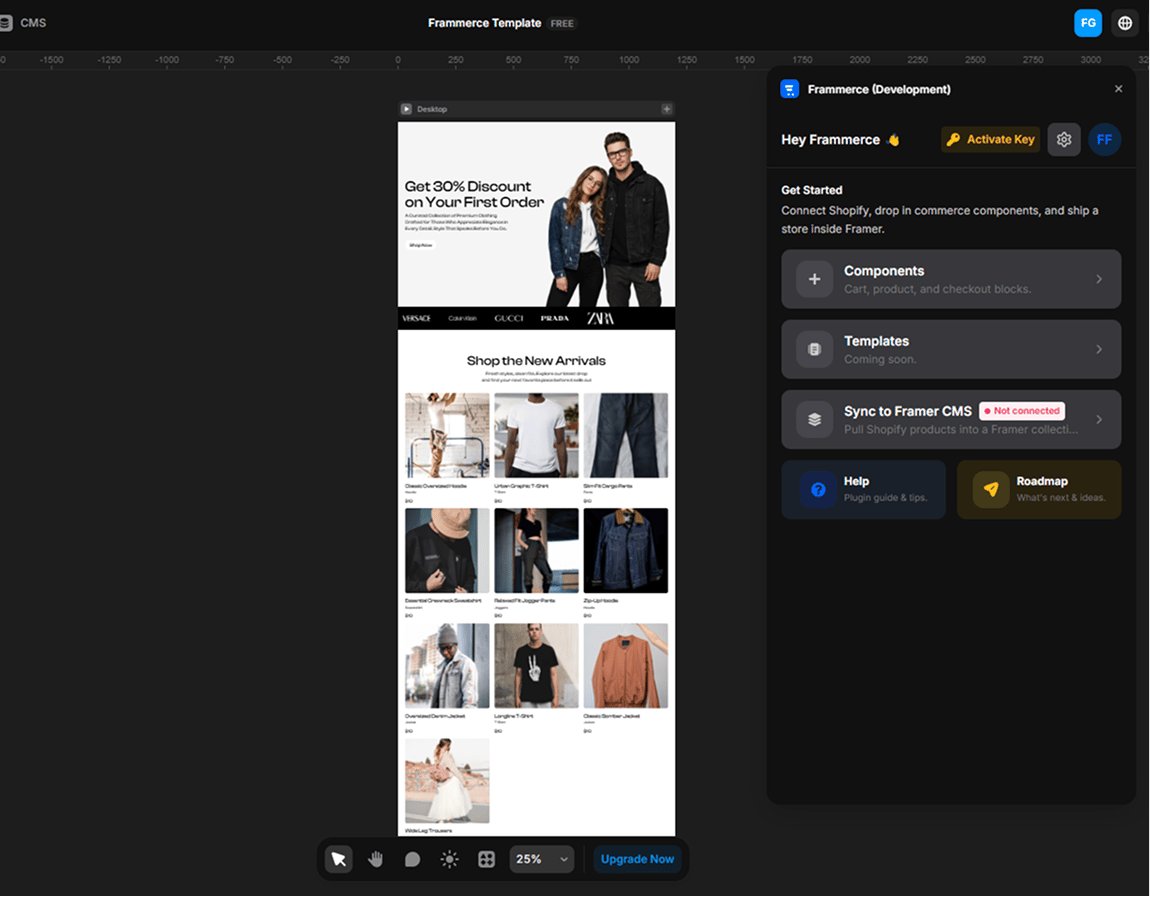
The plugin panel has four primary screens:
| Screen | What it does |
| -------------- | ------------------------------------------------------------------- |
| **Components** | Draggable catalog of every product and cart block. |
| **CMS** | Connect your Shopify store, pick fields, sync your catalog. |
| **Settings** | View your credentials, manage plan, open sync settings, disconnect. |
| **Pricing** | Plan tiers and license-key activation. |
The Templates screen exists in the panel today as a "coming soon" placeholder - layouts will ship in a future release.
## What Frammerce is
Frammerce is a Framer plugin that turns a Framer project into a Shopify-backed storefront. It does three things:
1. **Connects** your Shopify store to the Framer canvas via the Storefront API.
2. **Ships 21 commerce components** (product gallery, cart drawer, checkout button, etc.) as draggable Framer code components.
3. **Syncs your catalog** into a Framer managed collection so designers can use the CMS they already know.
There is no Shopify theme to maintain, no Liquid to write, and no backend you have to run. Frammerce talks to Shopify's read-only Storefront API at runtime; checkout hands off to Shopify's hosted checkout so payments stay secure.
## What you'll need
* A Framer account with the Frammerce plugin installed
* A Shopify store (any plan, including dev stores)
* A Shopify Storefront API access token (we show you how to get one)
## Where to go next
Connect a store, drag your first component, and ship.
Generate the access token Frammerce needs to read your store.
All 21 product and cart blocks the plugin ships.
Pull your Shopify catalog into a Framer managed collection.
## How the panel is organised
The plugin panel has four primary screens:
| Screen | What it does |
| -------------- | ------------------------------------------------------------------- |
| **Components** | Draggable catalog of every product and cart block. |
| **CMS** | Connect your Shopify store, pick fields, sync your catalog. |
| **Settings** | View your credentials, manage plan, open sync settings, disconnect. |
| **Pricing** | Plan tiers and license-key activation. |
The Templates screen exists in the panel today as a "coming soon" placeholder - layouts will ship in a future release.